- Target Audience
- Researcher
Setup a Jupyter Notebook
The purpose of this tutorial is to help researchers who are not familiar with Jupyter Notebooks and want to use Workbench to submit a task to the 5S-TES endpoint. Once familiar with Jupyter, you can use it to submit a task to the TES endpoint, retrieve the results, and use the results in your analysis in one place.
Steps
Install Python
If you haven’t done so, please follow this guide to install Python .
The Workbench requires Python 3.13 or newer.
Create a project folder
Everything for your analysis lives in one folder: your notebooks, your config.yml, and the output/ folder the Workbench downloads results into.
Open a terminal and create a new folder for your project:
mkdir my-5s-tes-analysis
cd my-5s-tes-analysis
Keep this terminal open — the remaining commands all run from inside this folder.
Create a virtual environment
A virtual environment is a private copy of Python for this project. It keeps the Workbench and its dependencies separate from anything else on your machine, so upgrading one project can never break another.
macOS / Linux
python3 -m venv .venv
source .venv/bin/activateYour terminal prompt now starts with (my-5s-tes-analysis), which tells you the environment is active.
Install the Workbench and JupyterLab
JupyterLab is the application that runs in your browser and lets you create and run notebooks.
pip
pip install five-safes-tes-workbench jupyterlabStart JupyterLab
jupyter labThis starts a small web server on your own machine and opens JupyterLab in your browser at http://localhost:8888. Nothing is uploaded anywhere — the notebook runs locally and only talks to the Submission layer when you call wb.submit() or wb.fetch_outputs().
Leave the terminal running while you work; closing it stops the notebook
server. When you have finished, return to the terminal and press Ctrl + C
to shut it down.
Create a notebook and check the installation
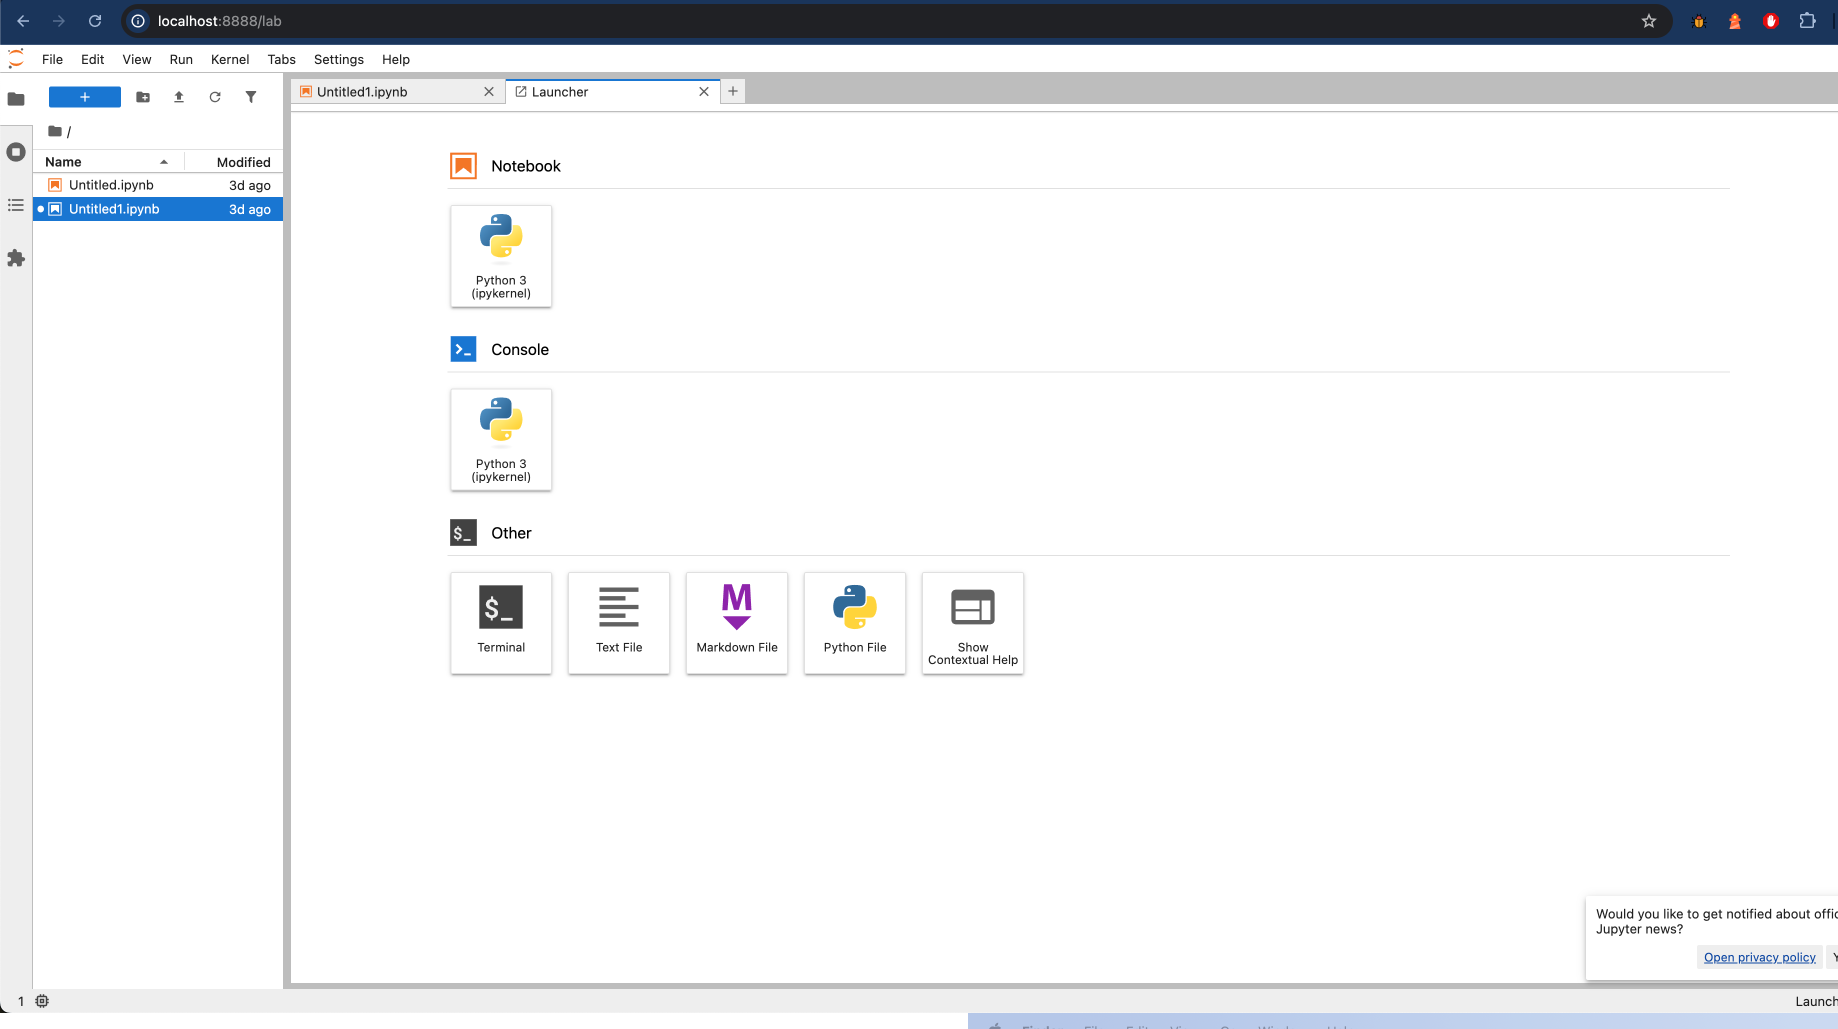
In the JupyterLab file browser you will see your project folder. Under Notebook in the launcher, click Python 3 (ipykernel) to create a new notebook, then rename it to something like analysis.ipynb.
Type the following into the first cell and press Shift + Enter to run it:
from five_safes_tes_workbench.workbench import Workbench

wb = Workbench()
print("Workbench ready")
If you see Workbench ready underneath the cell, your environment is set up correctly and you can move on to use the Workbench to submit an analysis.
- If this cell raises
ModuleNotFoundError, JupyterLab is almost certainly running against a different Python than the one you installed into. Close it, check your prompt still shows(my-5s-tes-analysis), reinstall with the command in step 4, and startjupyter labagain from the same terminal. - If you already activated the virtual environment, but have the errorcommand not found: jupyterwhen starting JupyterLab, try step 4 again to re-install JupyterLab.
-
Rather than starting from an empty notebook, you can download the example notebook into your project folder and open it in JupyterLab. It contains ready-to-run cells for every step to submit a task to the TES endpoint and retrieve the results.
-
Follow steps above once. Afterwards you only need to follow steps below to start working again.
cd my-5s-tes-analysis  # move to your project folder
source .venv/bin/activate  # activate your virtual environment
jupyter lab  # start JupyterLab