Setup & Start
Start the All In One demo stack following the instructions in Setup All-In-One Stack.
There are three layers : Submission Egress and TRE, as described in Stack Components.
Admin account details for the demo are given on that page.
For the All In One demo purposes there is a pre-set TRE, Project and user created and assigned. Skip to the project approval section if you already have a TRE, Project and user set up in the Submission Layer. If you need to create them first then follow the steps below.
Create a TRE
Navigate to the TRE tab in the Submission Layer.
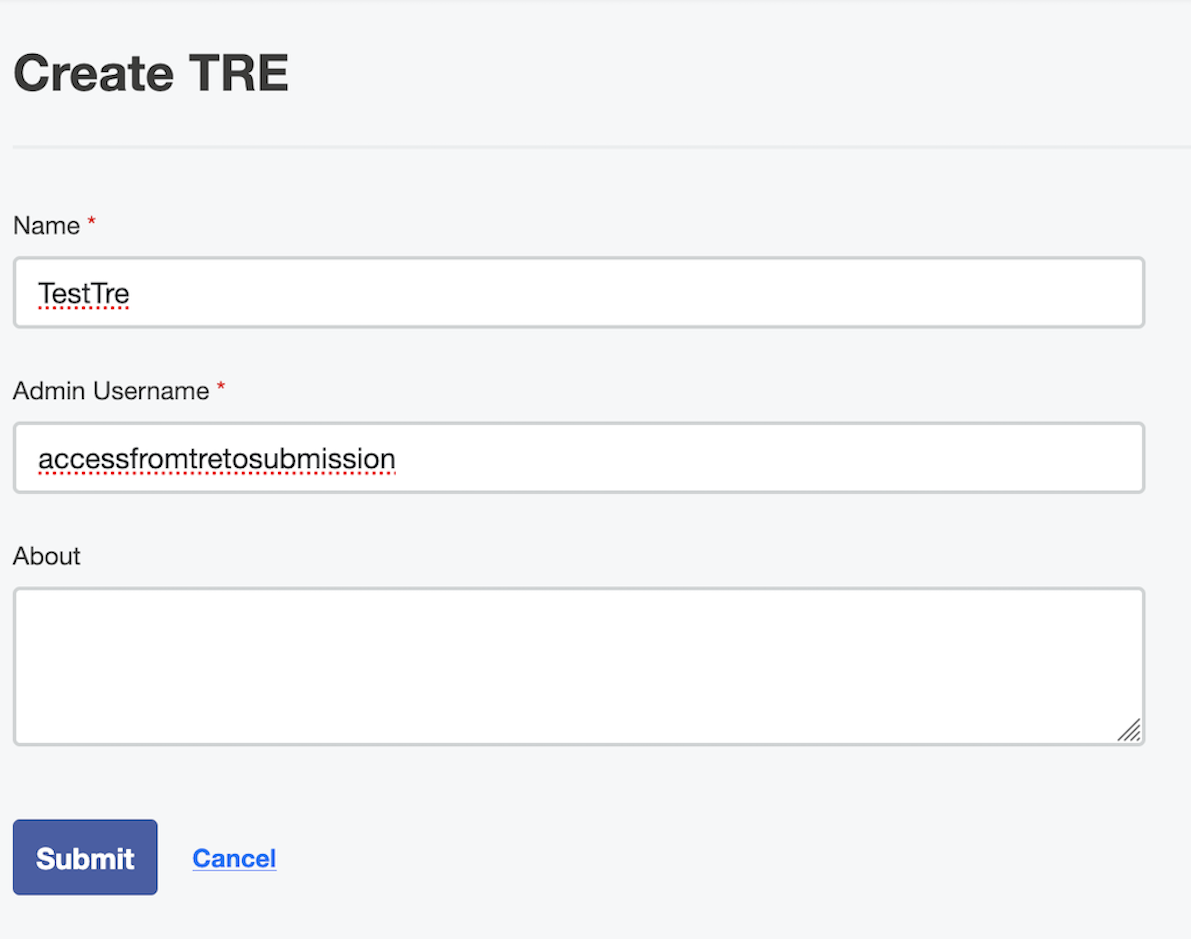
For the All In One the TRE admin username is accessfromtretosubmission
Create a User
You can create a user by navigating to People-> Create New User.
For the All In One the username would be globaladminuser
Create a Project
Navigate to the Projects -> Create Project.
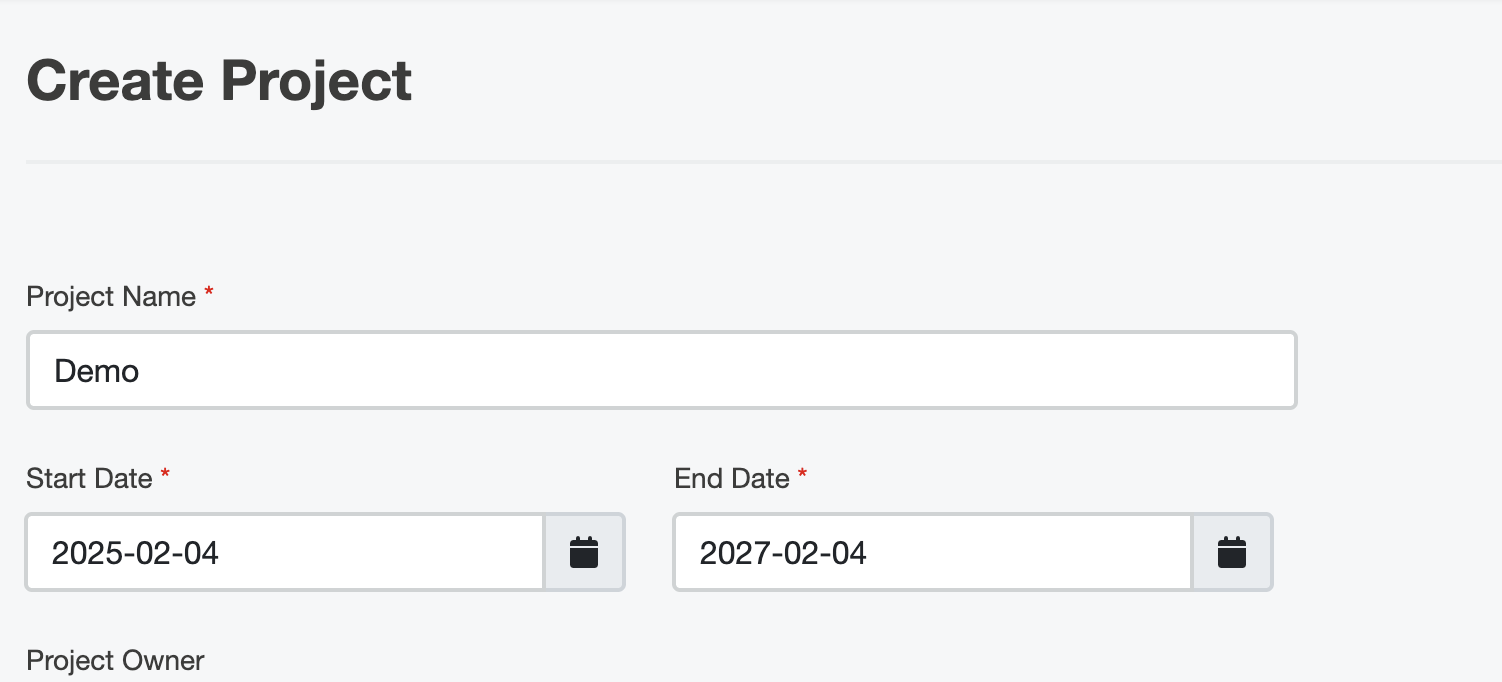
Once a Project is created, assign a TRE and a user that will be associated with the submissions.
TRE layer
The TRE layer will sync any Projects created in the submission layer. This will take up to 10 minutes.
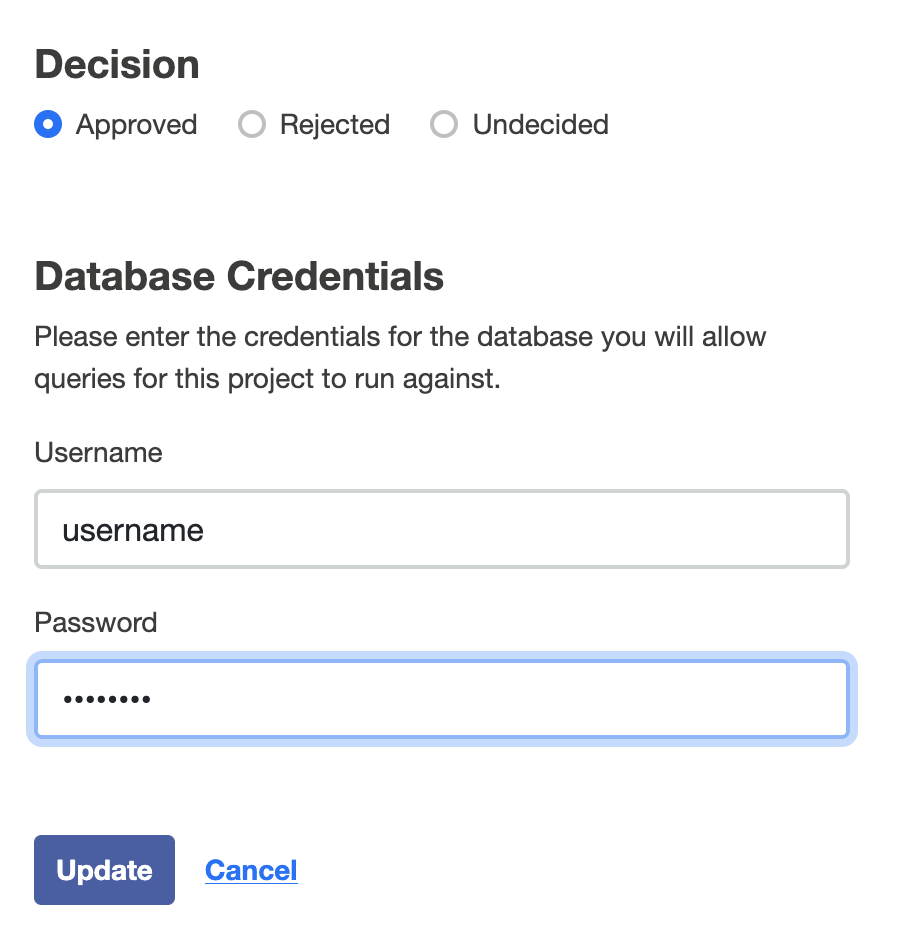
Approve Project and Membership
Once the Project is visible in the TRE Layer then the Project and the user membership needs to be approved for the TRE to accept submissions on that Project from the approved user.
Submission
The following submission is not actually running any analysis, it’s only for the purpose of demoing the functionality of TRE-FX. For the stack to execute the analysis you need to set up a GA4GH TES implementation by following these steps.
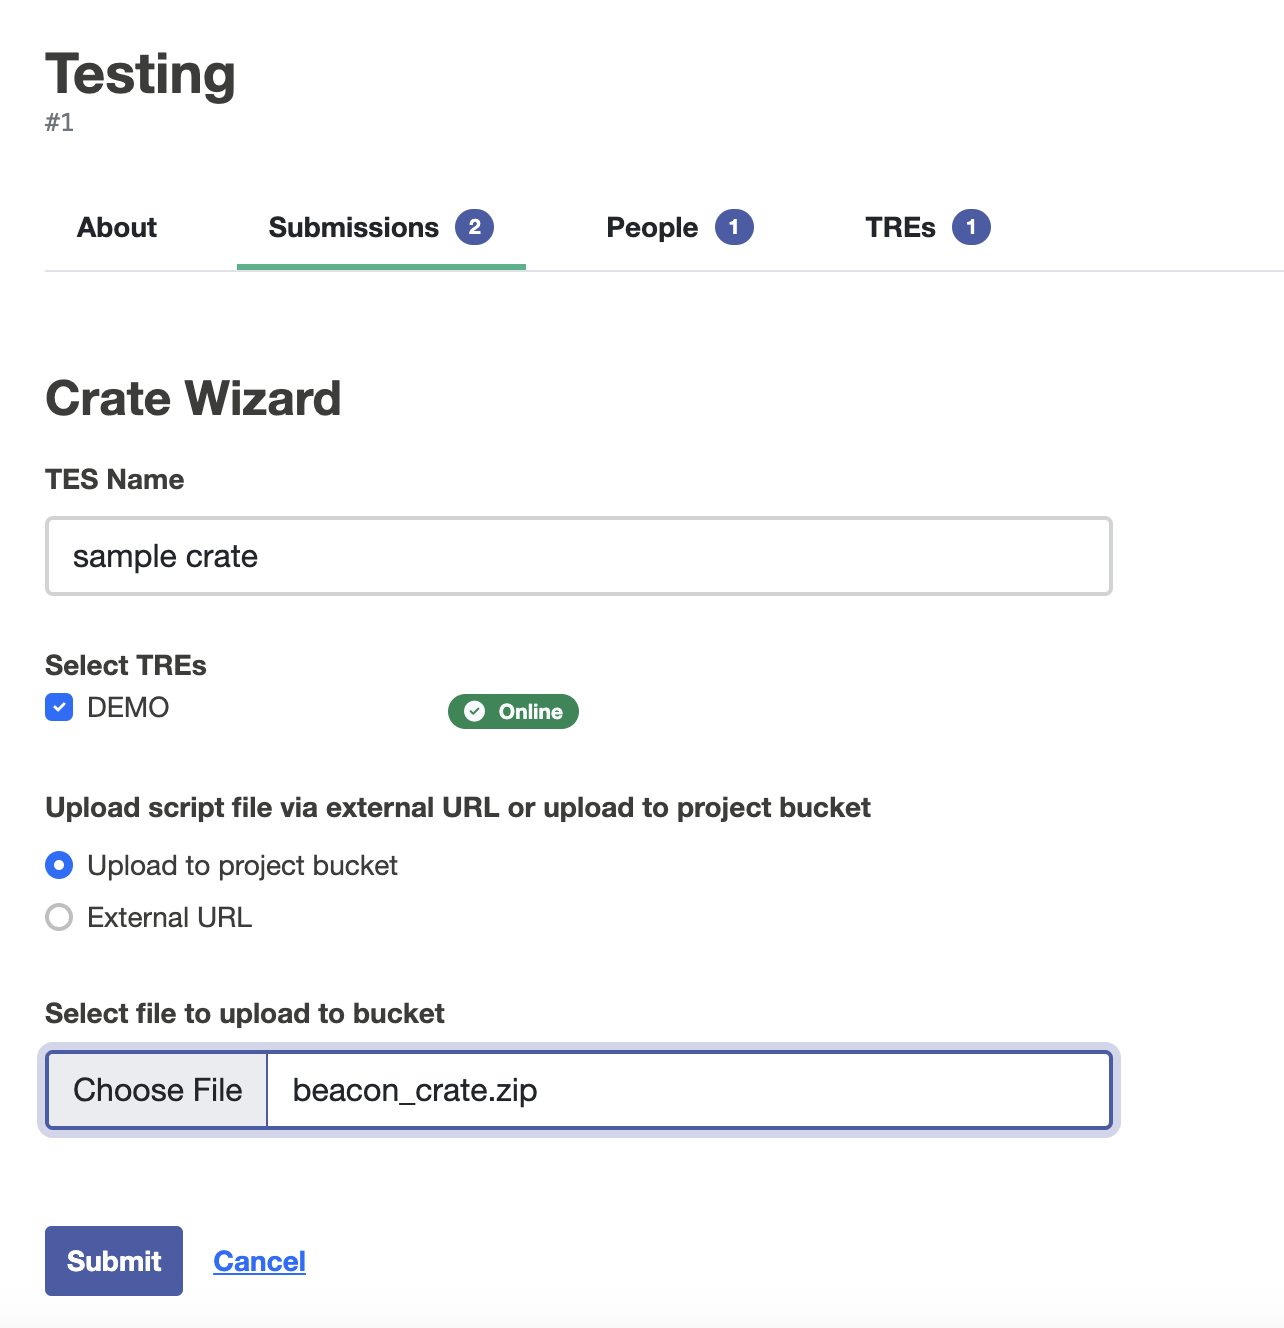
Download a sample Beacon RO-Crate here or by running the command:
wget https://raw.githubusercontent.com/federated-analytics/docs/refs/heads/main/samples/crates/beacon_crate.zipSubmit sample RO-Crate
Navigate to the Projects tab in the submission layer, select a Project and then Create Submission from the Submissions section.
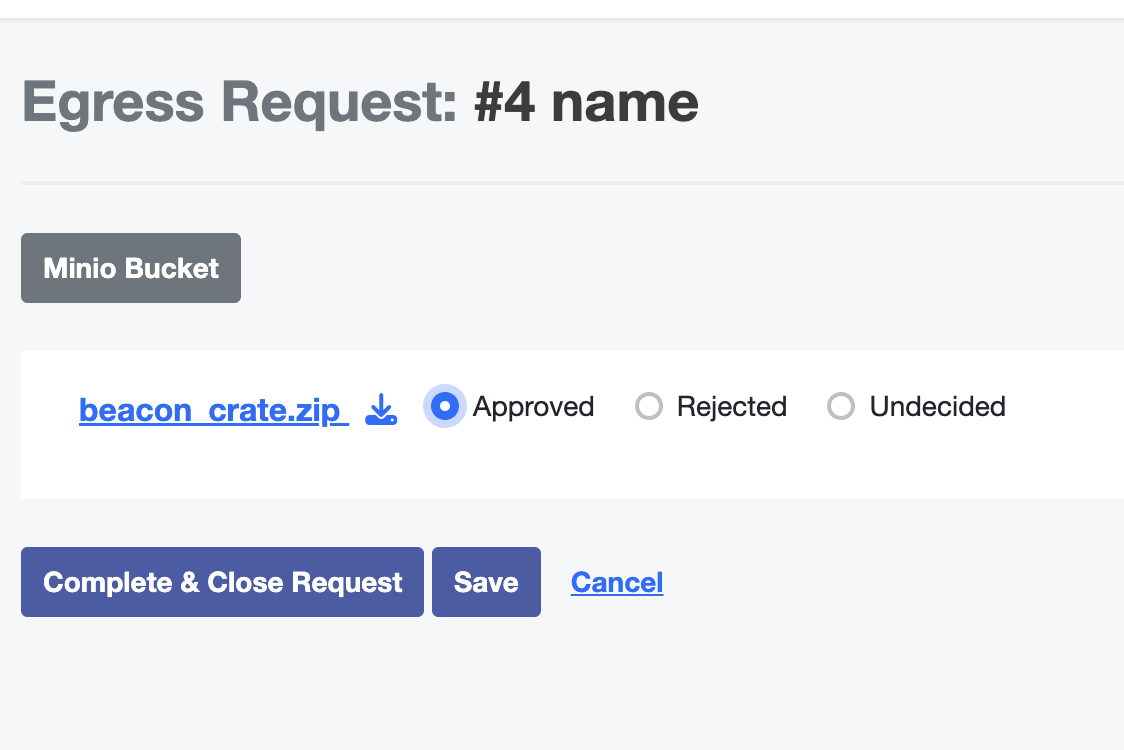
Approve Egress
Once the submission page status shows Requested Egress
Navigate to Egress Layer and approve the output files for your submission and then select Complete & Close request
Completed
Submission is finished executing, there is an option to download the output file at the bottom of the Submissions -> submission name in the Submission Layer