Setup a New Project in the Submission Layer
Prerequisites and Notes
Required information:
- Project Name
- Start and End dates
Process
Submission Manager logs onto the Submission Layer UI
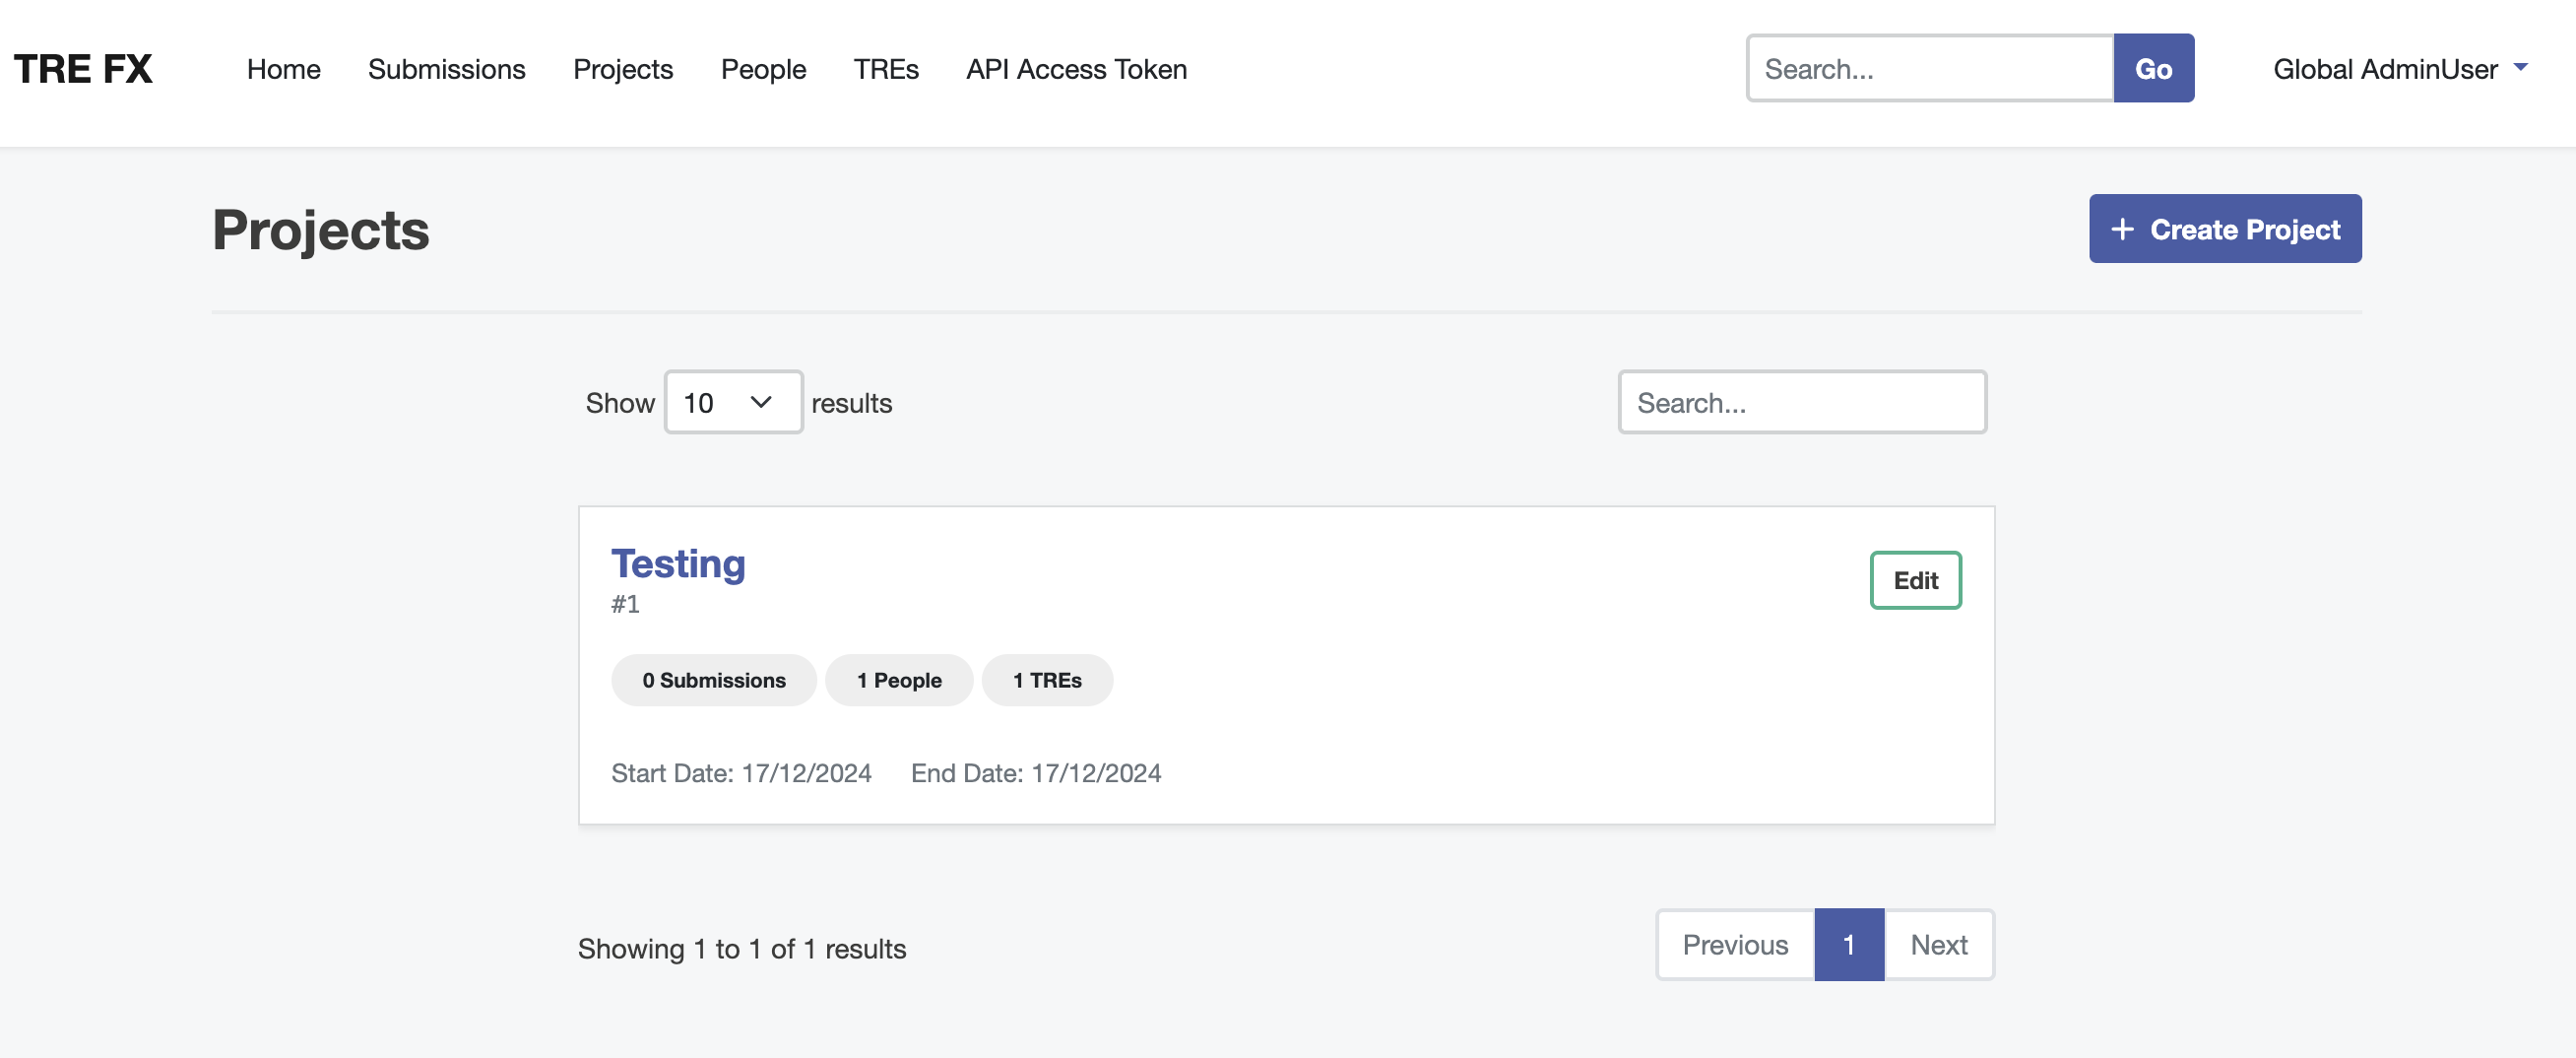
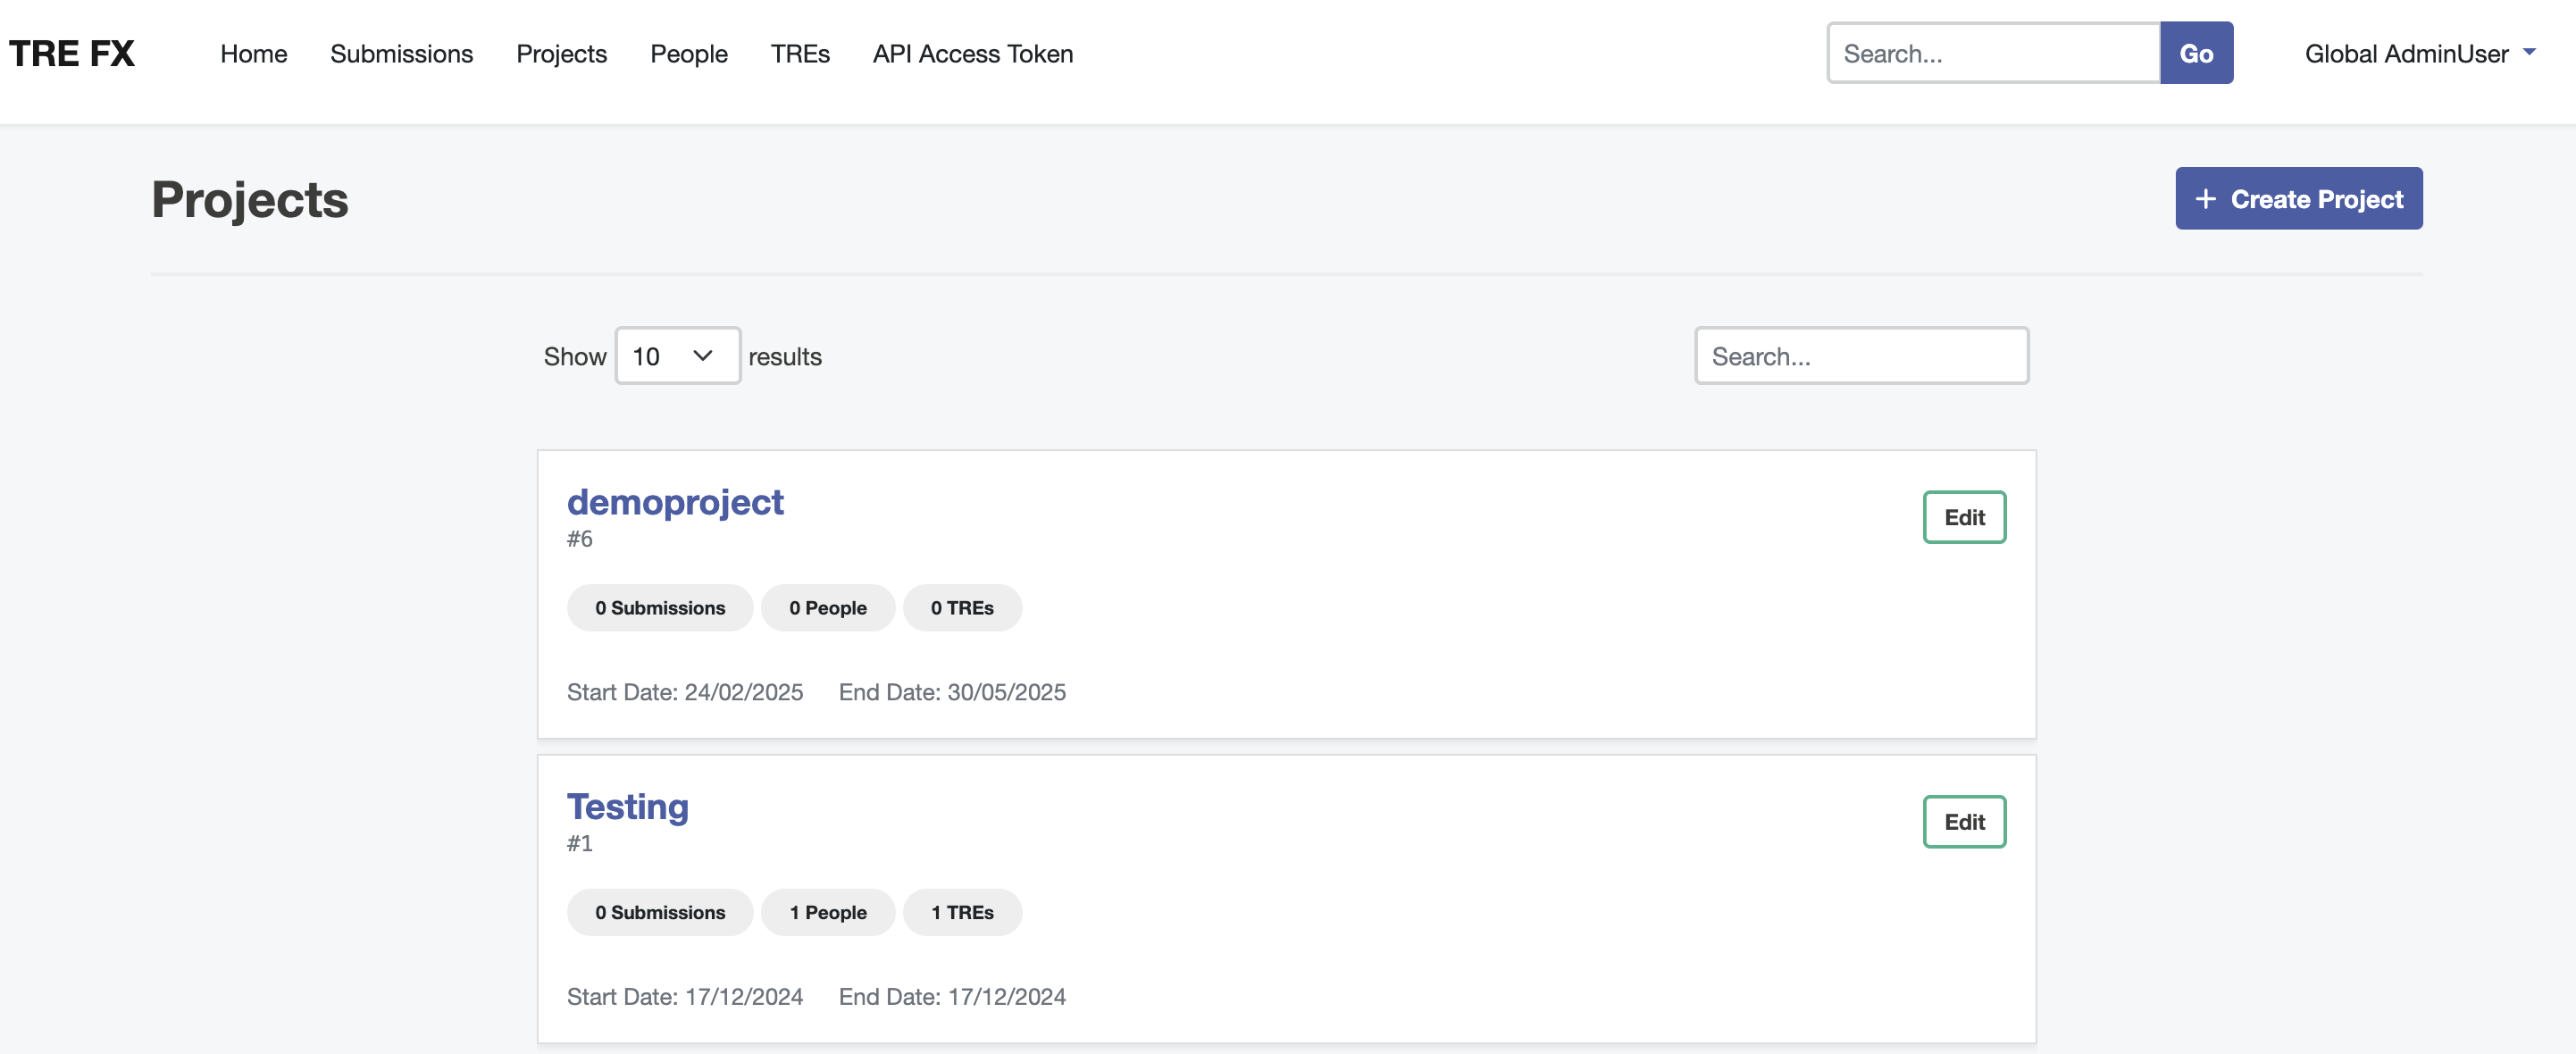
Open Projects page, and select Create Project
Select the ‘Projects’ tab at the top of the page, and then click the blue ’+ Create Project’ button on the top right of the Projects page.
Enter Project Information
The project information should be entered. This includes:
- Project Name (mandatory)
- Start and End dates (mandatory)
- Project Owner (optional)
- Project Contact (email) (optional)
- Mark if project is embargoed
- Project Description (optional)
- Display on UI (not currently modifiable)
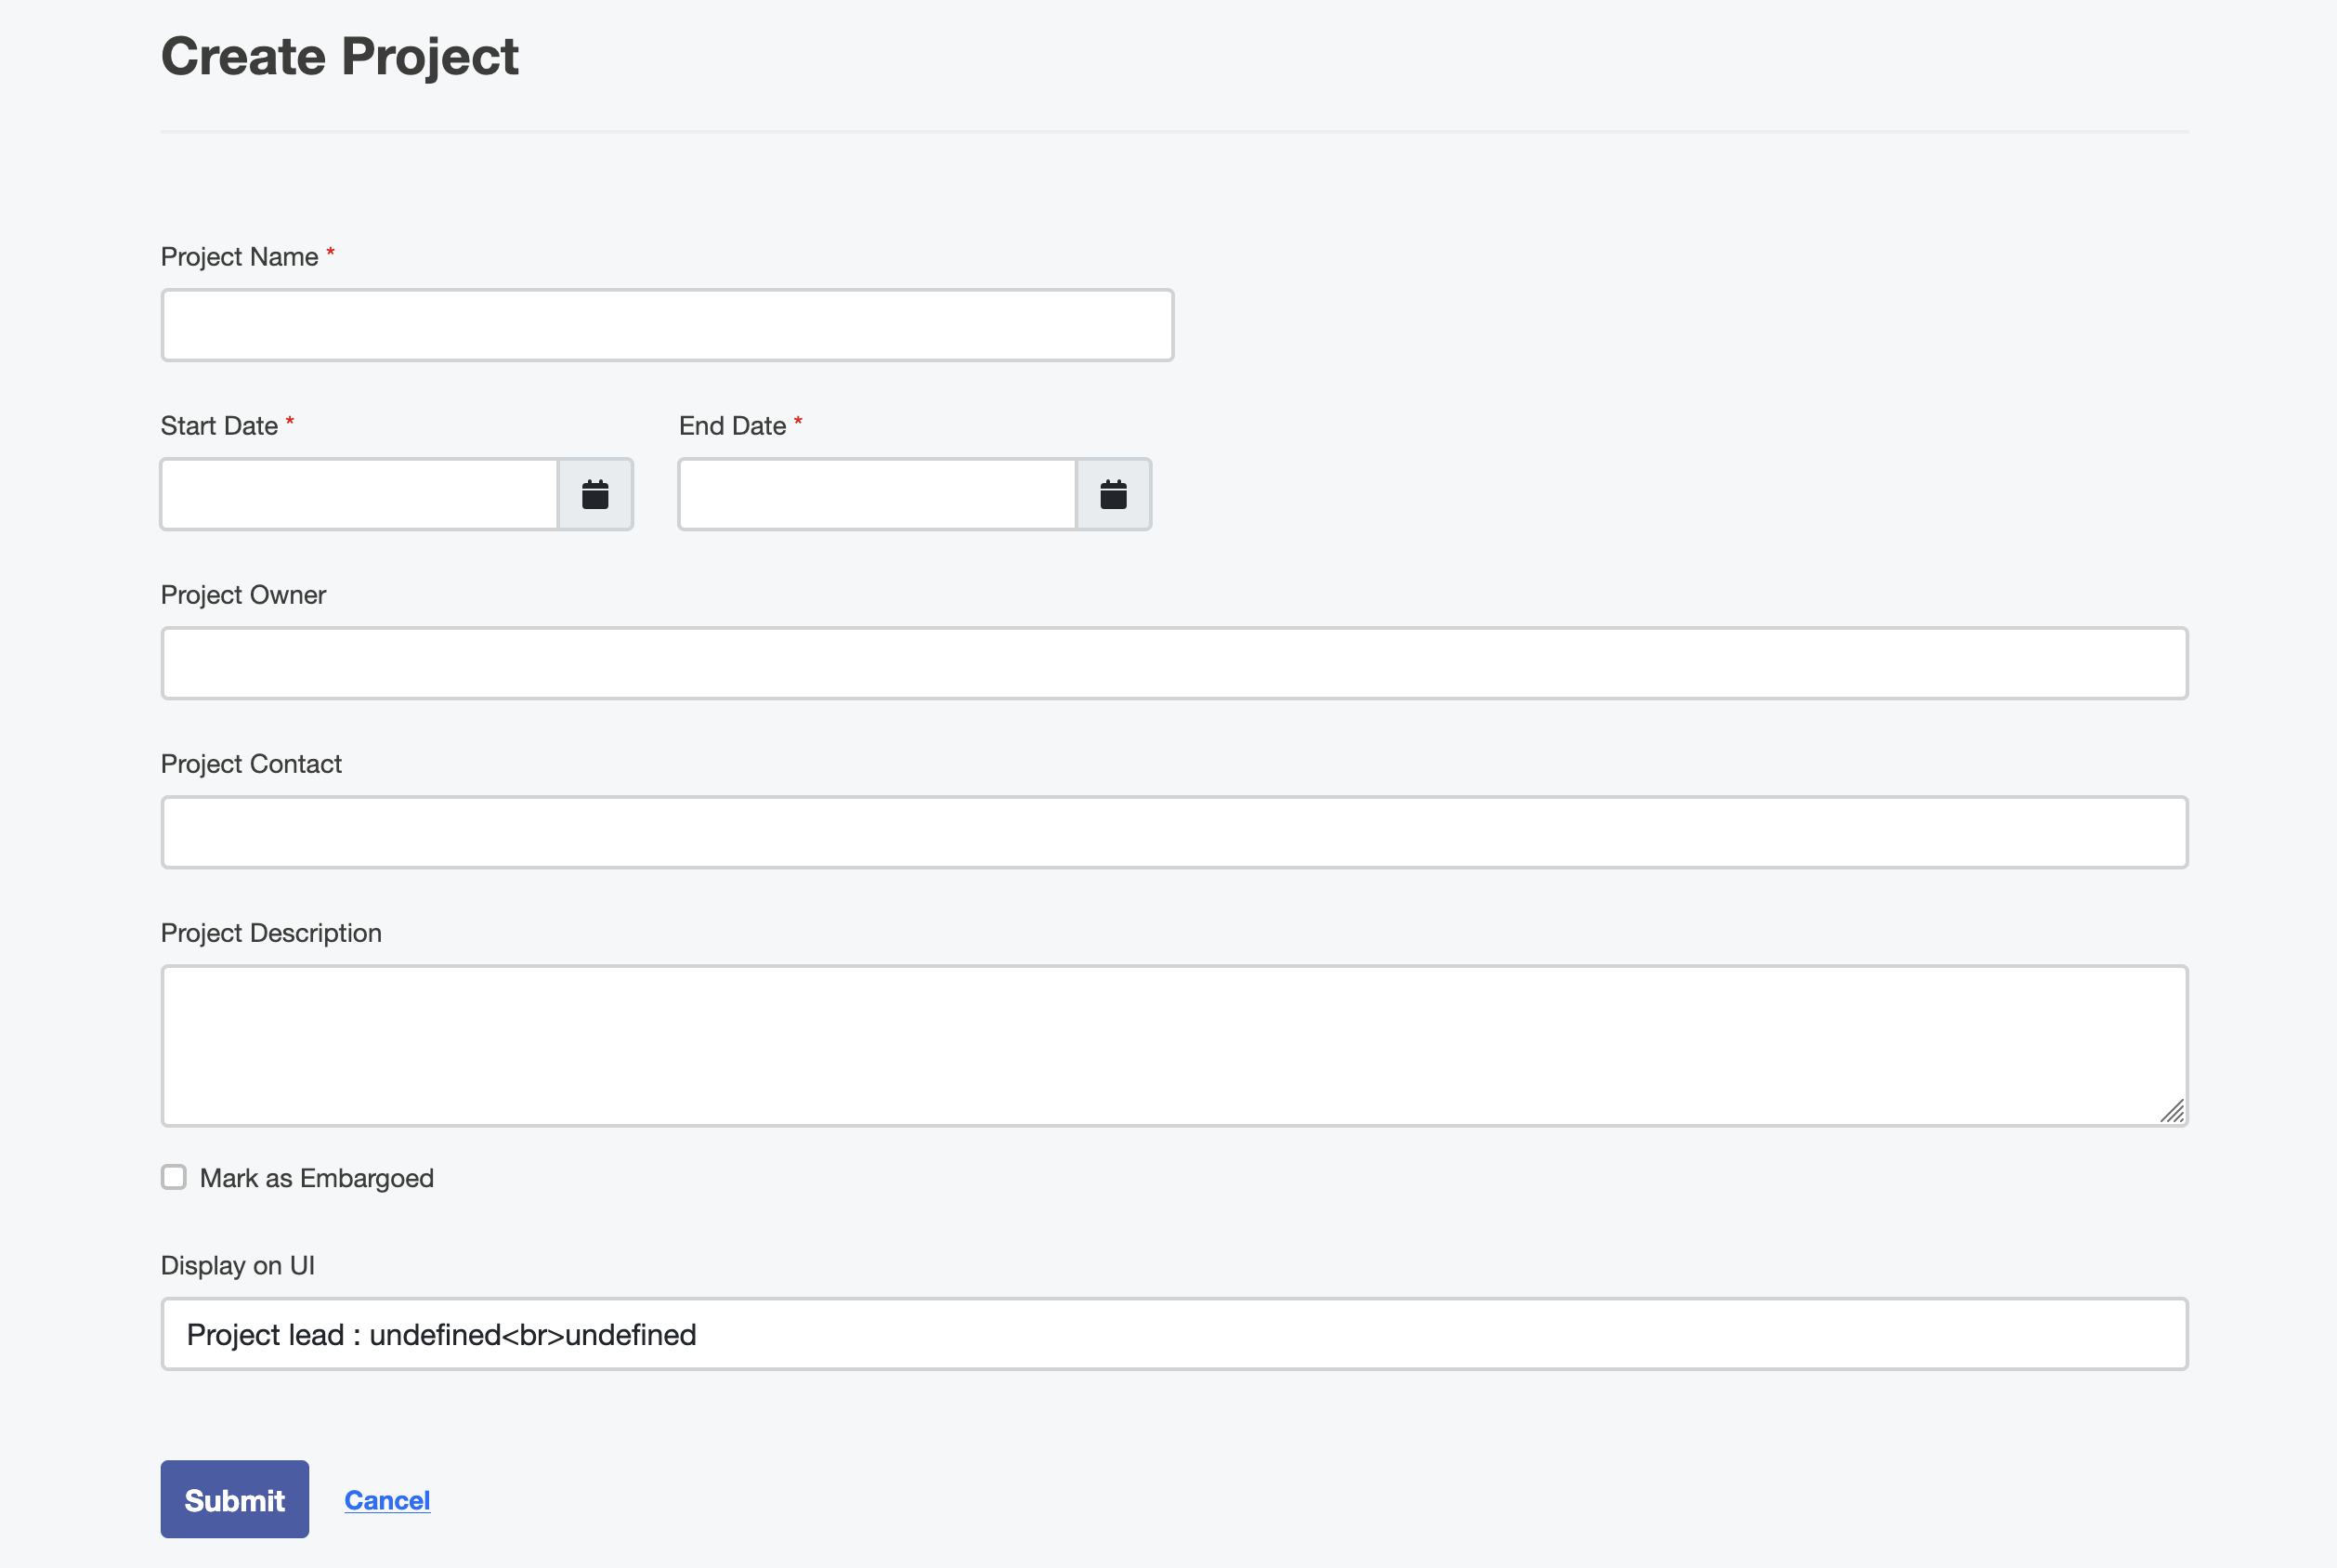
Once this information is entered press the blue ‘Submit’ button. The new project will be visible on the Projects page.
Add People to the Project
Click on the new project’s name to open the project page for this. Then select the ‘People’ tab within the project page, and click the blue ’+ Add User’ button.

This opens a menu containing the available users, who have been added to the Submission Layer by this guide. Select those that you wish to add to the project, and then click the blue ‘Add’ button.
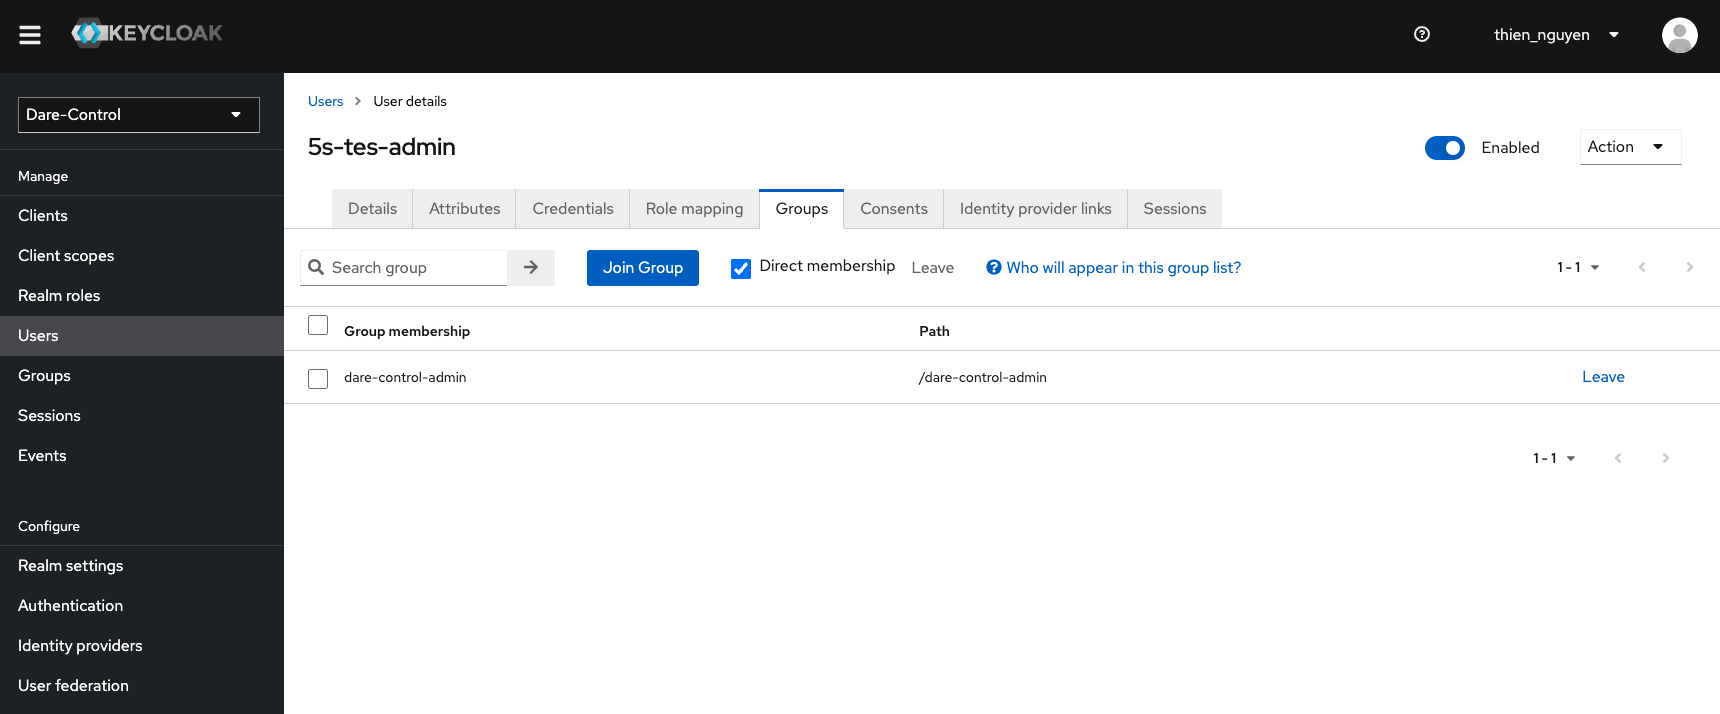
To be able to add/remove people to/from a project, users need to have
dare-control-admin role (Role Mapping tab) and joined dare-control-admin
group (Groups tab) on KeyCloak.
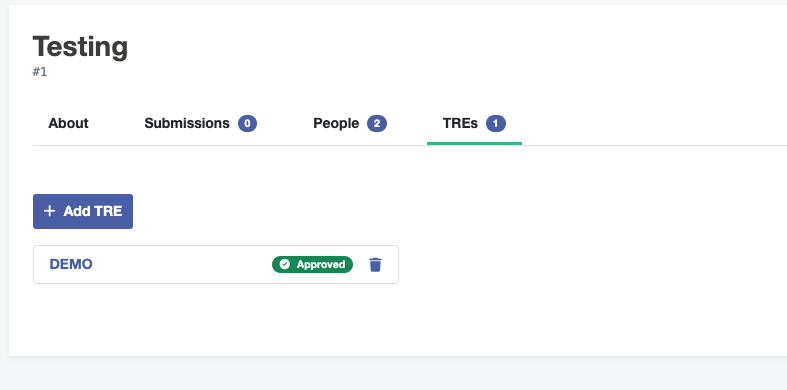
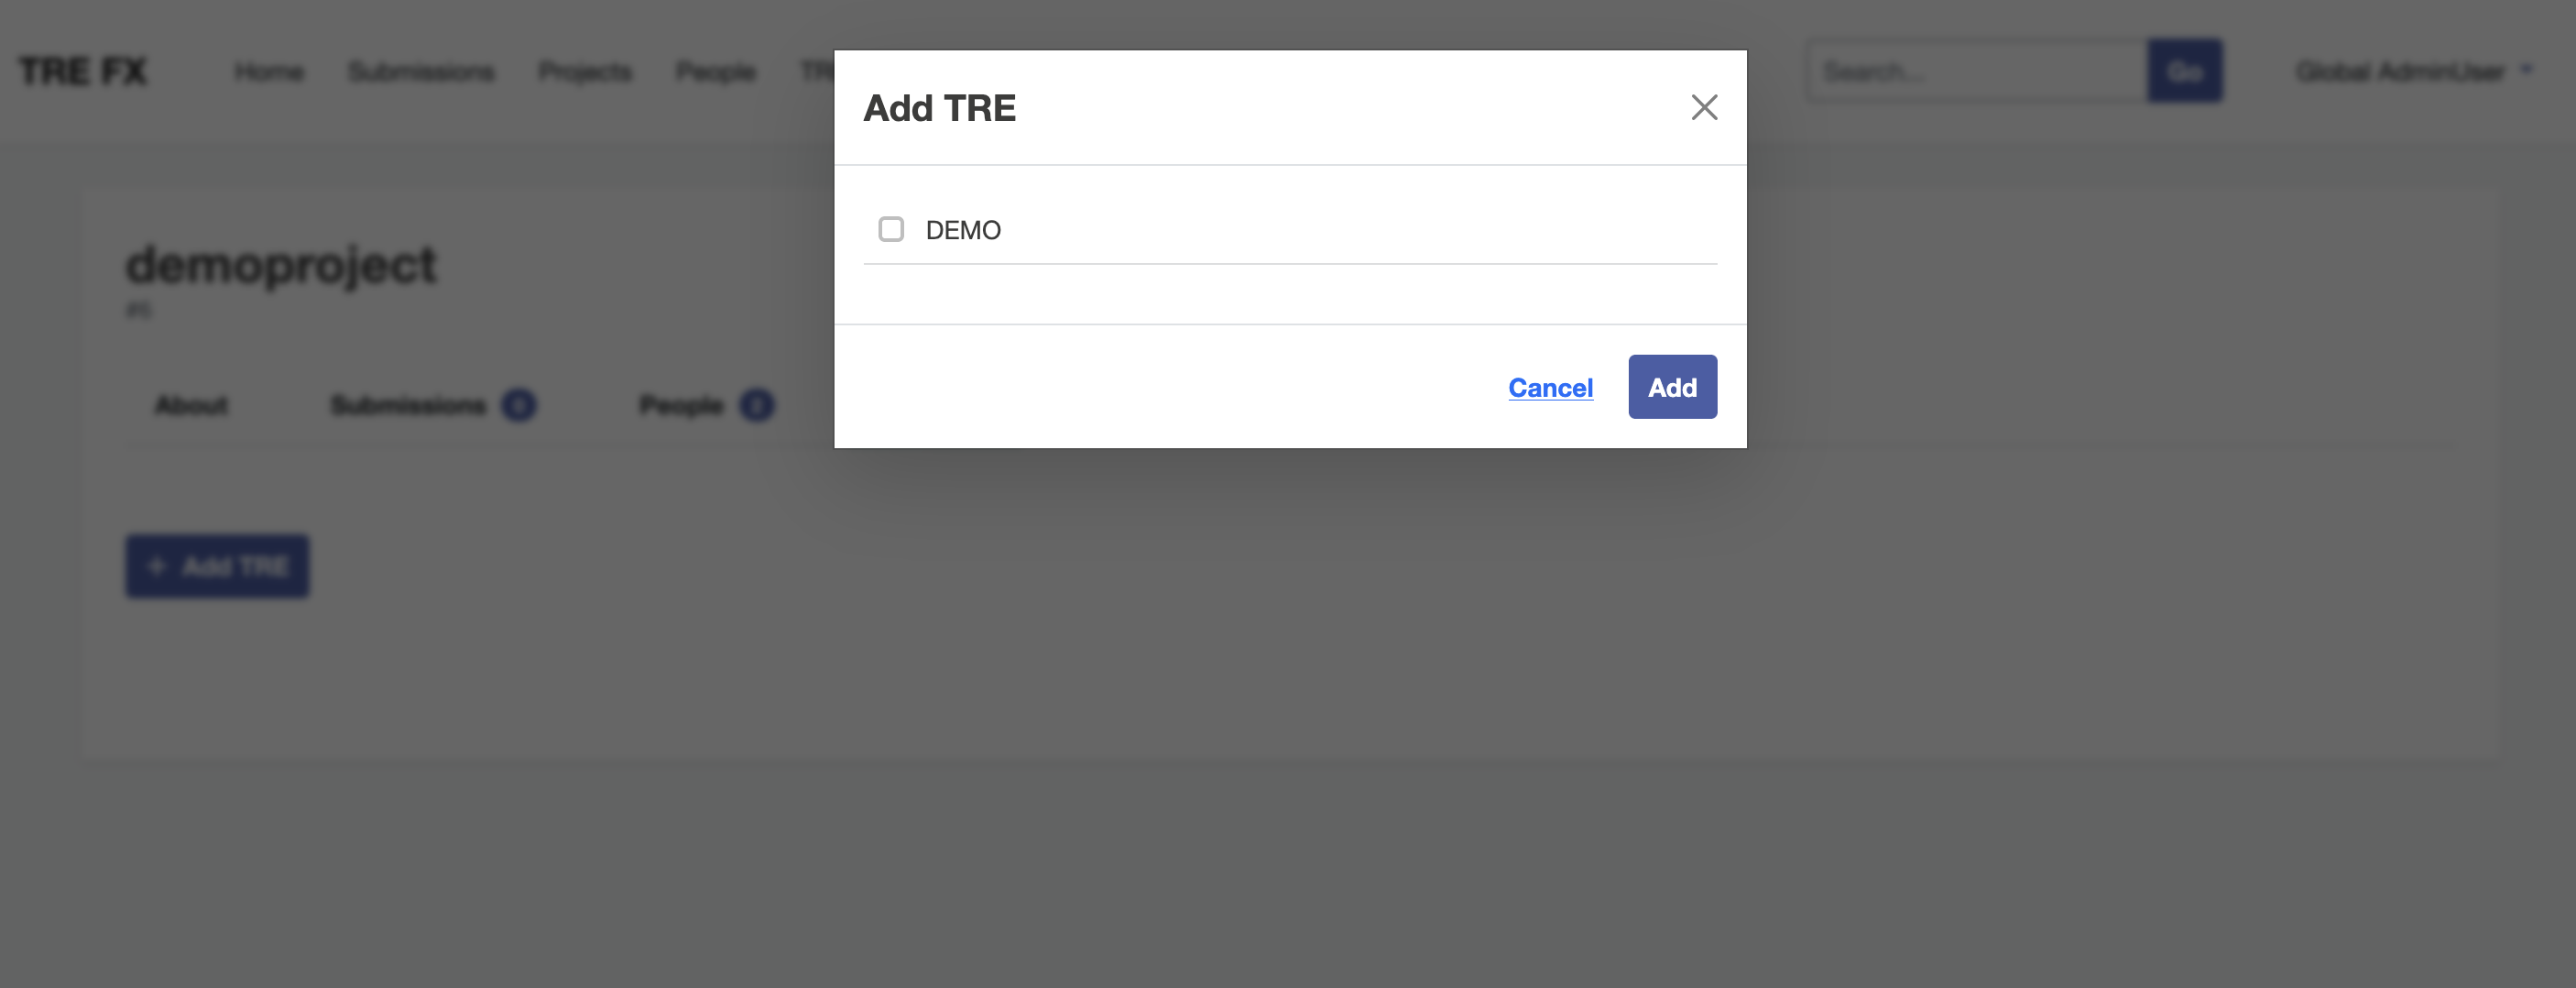
Add TRE(s) to the Project
Select the ‘TREs’ tab within the project page, and click the blue ’+ Add TRE’ button. This opens a menu containing the available TREs, which have been added to the Submission Layer by this guide.
Select those that you wish to add to the project, and then click the blue ‘Add’ button.
Request Approval from TRE
The ‘TRE’ tab for the project will now show that the project status with the TRE is ‘Undecided’.
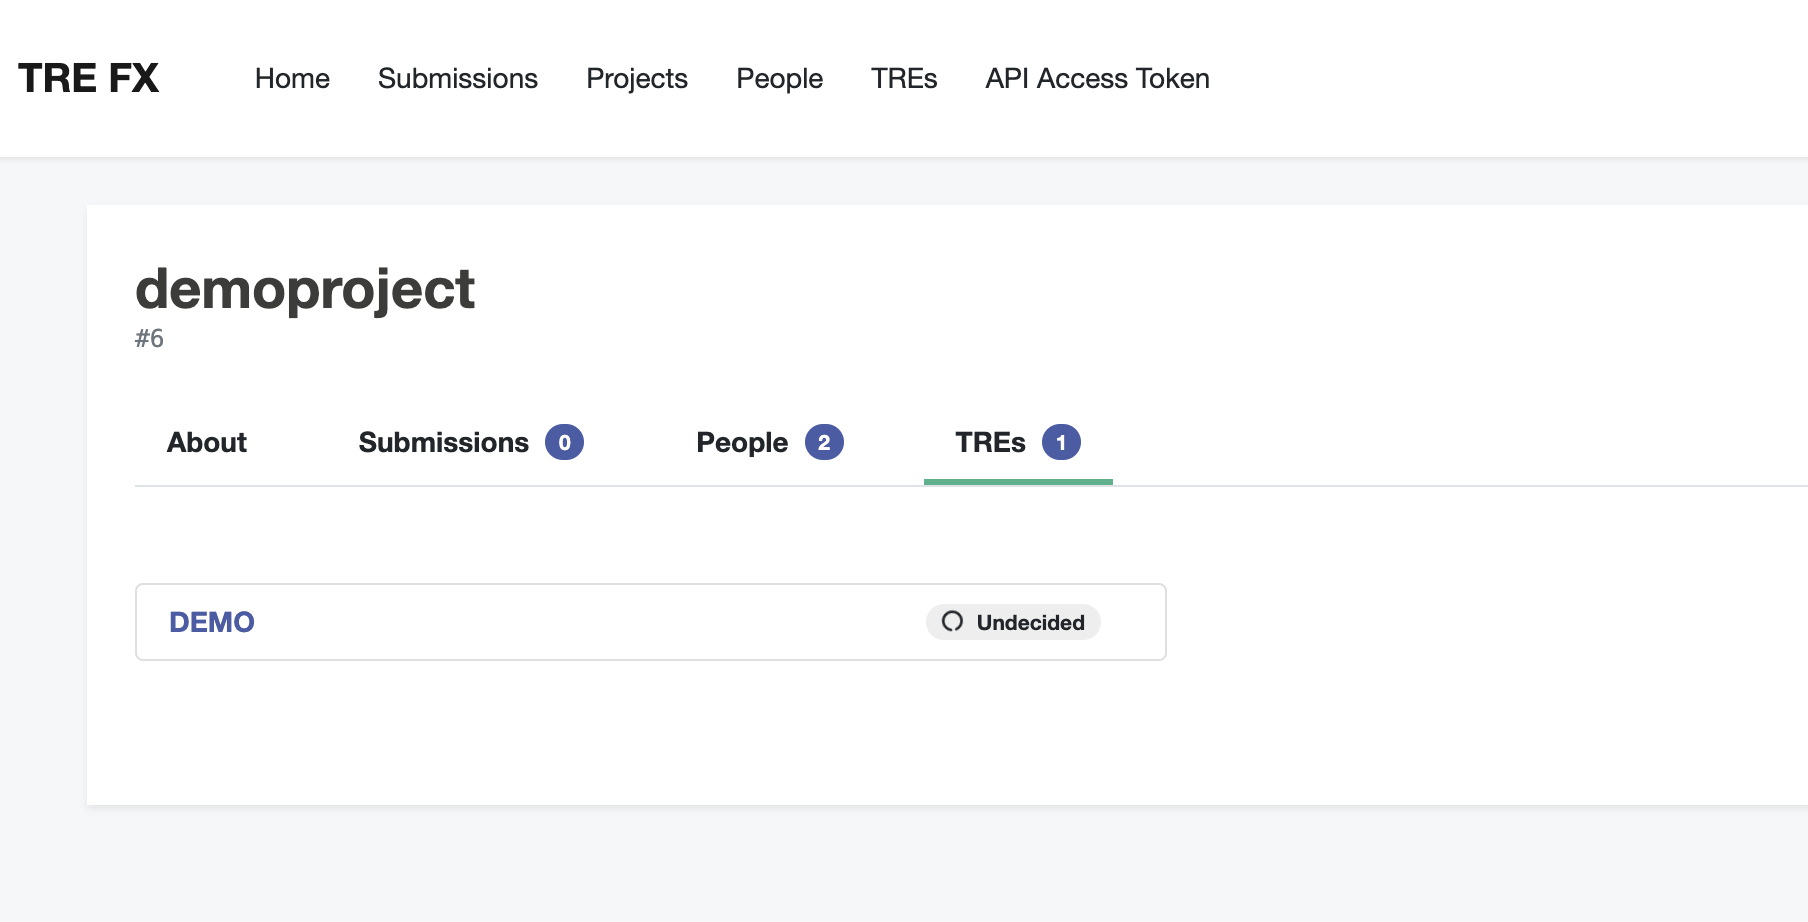
A request for approval for the project should be made to the TRE Admins, who can then approve the project using the TRE Manager Approving Project guide.
Approval Received from TRE
Once a TRE Admin has approved the project then the TRE status will change to ‘Approved’.